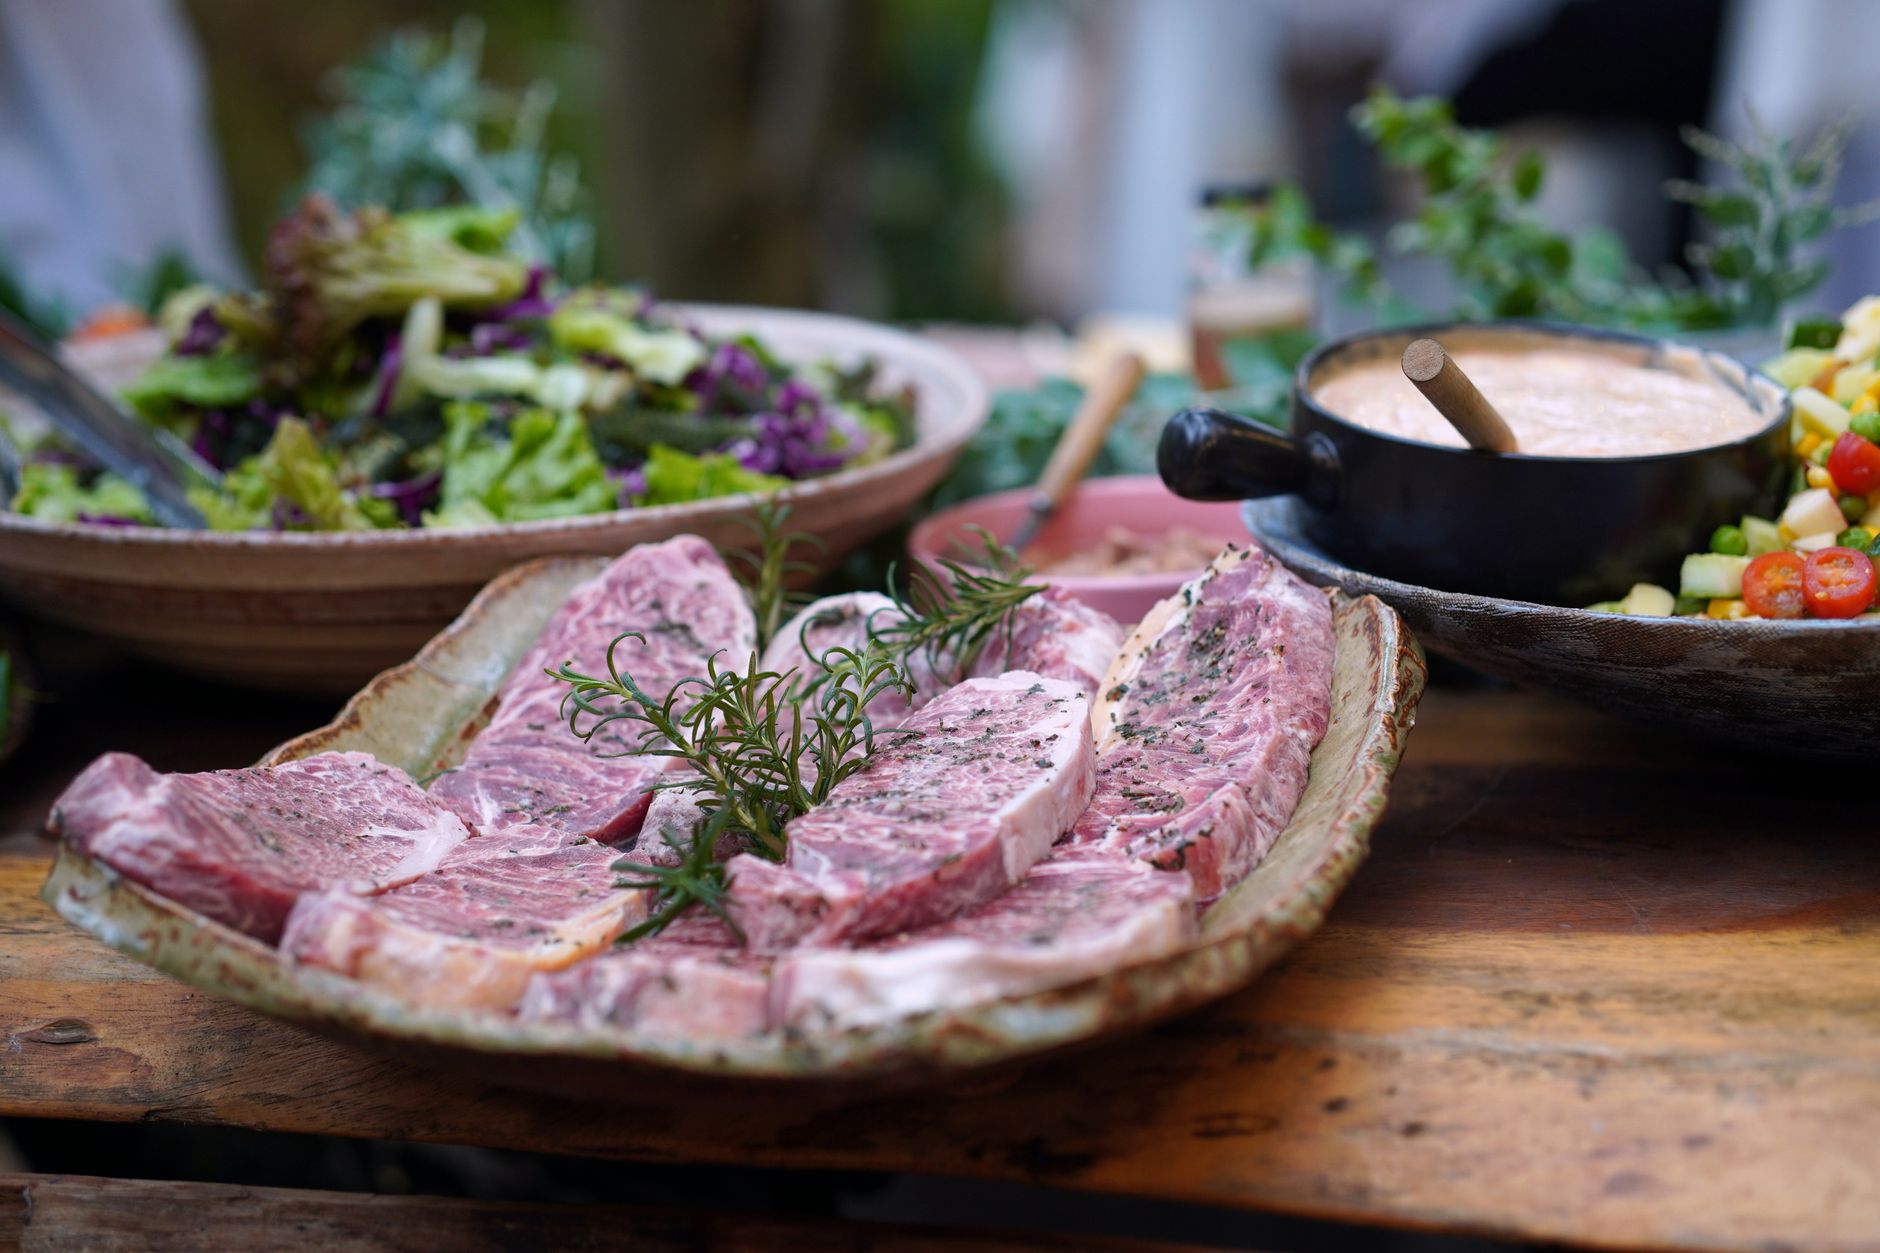
The Science Behind Thawing: Why Temperature Matters
When frozen food is exposed to a temperature above 32 °F (0 °C), ice crystals melt. The key to safe thawing is keeping the food’s core temperature below 40 °F (4 °C) until the outer layers reach the safe cooking temperature. If thawed too quickly or at too high a temperature, the outer layers reach 70 °F (21 °C) while the interior remains frozen—creating a perfect environment for bacteria to multiply rapidly.
Bacterial growth rate doubles every 10 °F above 40 °F. In the 40–140 °F “danger zone,” pathogens can multiply from 10³ to 10⁶ cells per gram in just 24 hours. That’s why the USDA recommends three main safe thawing methods: refrigerator, cold water, and microwave.
Refrigerator Thawing: The Gold Standard
How It Works
- Move the frozen item to the refrigerator (set to 35–40 °F).
- Allow 24 hours per 5 lbs (2.3 kg) of food.
- Keep the food in its original packaging or in a sealed container to prevent cross‑contamination.
Why It’s Safe
- The food stays below 40 °F throughout the thaw.
- Even temperature distribution prevents “hot spots.”
- It’s ideal for large, irregularly shaped items (turkeys, roasts, whole fish).
Real‑World Example
A 12‑lb turkey for Thanksgiving:
- Packing time: 24 hours (12 lb ÷ 5 lb = 2.4 days → round to 3 days).
- Result: Even thaw, minimal moisture loss, and a juicy final product.
When to Use
- Planning ahead (e.g., a week before a holiday dinner).
- Foods that will be cooked slowly (braises, stews).
Cold‑Water Thawing: Speed Without Risk
Step‑by‑Step Protocol
- Seal the food in a watertight plastic bag (eliminate air).
- Submerge in cold tap water (maintain 40 °F).
- Change the water every 30 minutes to keep it cold.
- Time: 1 hour per pound (1 kg).
Safety Checklist
- Temperature: Keep the water below 41 °F—use a thermometer if necessary.
- Duration: Never exceed 2 hours for poultry; for larger items, break into smaller portions or refrigerate afterward.
Real‑World Example
- Thawing a 1‑lb chicken breast: 1 hour of cold water thawing, then cook immediately.
- Thawing a 10‑lb salmon fillet: 10 hours of cold water; test core temperature with a food thermometer before cooking.
Why It’s a Good Middle Ground
- Faster than the refrigerator but still keeps the food below the danger zone.
- Ideal for medium‑size cuts that need to be ready quickly (weeknight dinners, last‑minute gatherings).
Microwave Thawing: The Quick Fix
How to Do It Safely
- Use the “defrost” setting based on weight.
- Rotate the food frequently to promote even thawing.
- Cook immediately after microwaving to kill bacteria that may have started to grow.
Limitations
- Uneven thawing can partially cook the outer layer, creating a texture problem.
- Not suitable for whole or large items (e.g., whole poultry, large roasts).
Real‑World Example
- Thawing a 1‑lb steak: 3–4 minutes on defrost, then sear on a hot pan within 5 minutes.
When to Use
- Quick prep for a single meal or when you’re short on time.
- Small, uniformly shaped cuts.
Advanced Preservation: Finishing Thawing with Sous Vide
Sous vide offers a controlled, low‑temperature environment that can thaw and cook simultaneously.
How It Works
- Seal the food in a vacuum bag.
- Place in a water bath set to 45–55 °F.
- Thaw for 1–2 hours (poultry) or 4–6 hours (beef).
Benefits
- Even thawing without reaching the danger zone.
- Preserves moisture and flavor.
- Excellent for batch meals because the process can be automated.
Real‑World Example
- Batch‑cooking chicken breast for a meal‑prep box: Vacuum‑seal 20 breasts, sous‑vide at 45 °F for 2 hours, then flash‑sear and portion.
Safe Thawing Protocols for Batch Meals
When you’re preparing meals for a week, you need a systematic approach.
| Step | Method | Time | Temperature | Safety Notes |
|---|---|---|---|---|
| 1 | Pack in airtight containers | – | – | Prevents cross‑contamination |
| 2 | Refrigerate to
---
Support Pollinations.AI:
---
🌸 Ad 🌸
Powered by Pollinations.AI free text APIs. [Support our mission](https://pollinations.ai/redirect/kofi) to keep AI accessible for everyone.