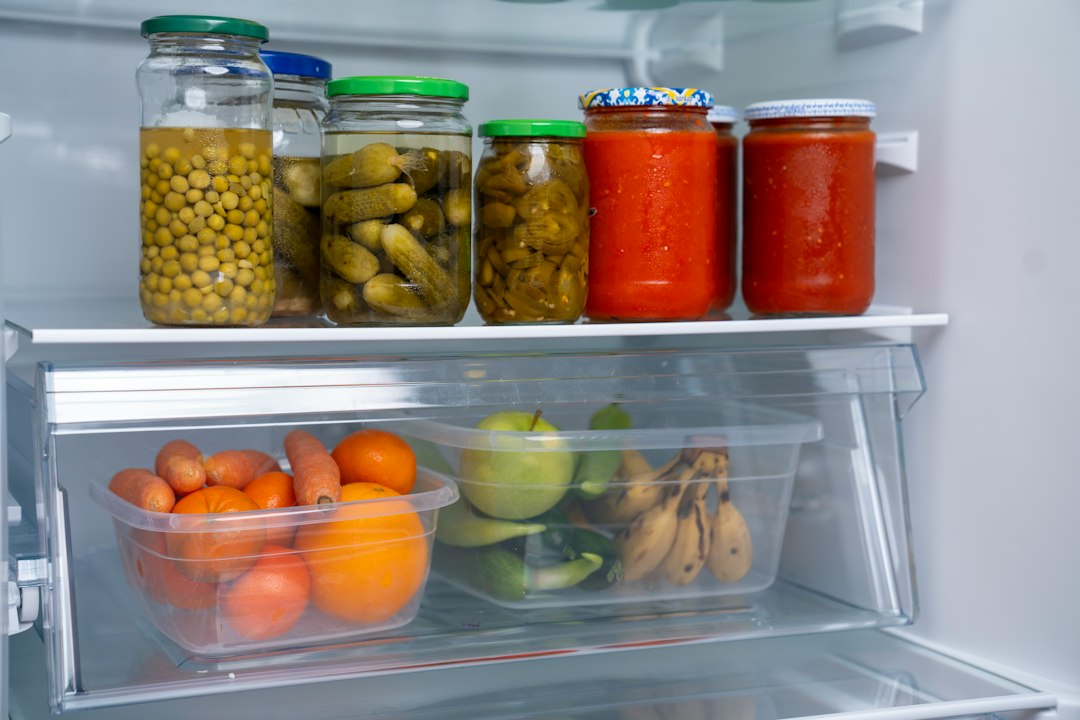
Introduction to Modern Kitchen Efficiency
In the fast-paced rhythm of modern life, the kitchen often shifts from a sanctuary of creativity to a source of daily stress. Questions like "What's for dinner?" can derail even the most well-intentioned routines, leading to expensive takeout orders and neglected ingredients rotting in the crisper drawer. The solution does not lie in miraculous lifestyle overhauls, but rather in a synergistic system combining strategic weekly food prep and smart refrigerator storage.
When you master the art of preparing your ingredients in advance and housing them within an optimized cooling environment, you reclaim hours of your week, protect your hard-earned grocery budget, and elevate the nutritional quality of every meal you consume. This definitive master guide will take you through the foundational pillars, advanced zoning techniques, and smart appliance integrations required to turn your refrigerator into an elite culinary command center.
The Psychology and Science of Weekly Food Prep
Before arranging a single container on a refrigerator shelf, it is essential to understand the science behind food degradation. Fresh produce continues to respire after harvest, consuming oxygen and releasing carbon dioxide, moisture, and ethylene gas—a natural plant hormone that accelerates ripening and decay. Without a deliberate strategy, mixing incompatible produce or storing items in improper microclimates leads to premature spoilage.
Weekly food prep is not about eating identical, monotonous chicken-and-broccoli meals out of plastic tubs for seven days straight. Instead, it is a modular approach to cooking. You prepare foundational components—such as roasted root vegetables, versatile grains, washed and dried salad greens, and pre-marinated proteins—that can be endlessly mixed and matched.
Core Pillars of an Effective Prep Session
- Component-Based Cooking: Focus on cooking neutral, adaptable bases rather than fully assembled dishes, preventing flavor fatigue.
- The "Wash and Dry" Rule: Moisture is the primary enemy of fresh produce. Washing and thoroughly drying greens immediately upon returning from the store prevents bacterial growth.
- Thermal Management: Never place steaming hot food directly into the refrigerator. It elevates the internal ambient temperature of the appliance, putting neighboring perishables at risk of entering the "danger zone" where bacteria proliferate.
Mastering Smart Refrigerator Storage Zones
Not all parts of a refrigerator are created equal. Airflow, proximity to cooling coils, and door usage create distinct micro-climates inside your appliance. A truly smart storage strategy aligns your grocery haul with these natural thermal zones.
```
+-------------------------------------------------------------+
| REFRIGERATOR TOP SHELF |
|---|
| (Ready-to-eat foods, leftovers, herbs) |
+-------------------------------------------------------------+
| REFRIGERATOR MIDDLE SHELF |
|---|
| (Dairy, eggs, packaged snacks) |
+-------------------------------------------------------------+
| REFRIGERATOR LOWER SHELF |
|---|
| (Raw meats, poultry, seafood on plates) |
+-------------------------------------------------------------+
| CRISPER DRAWER 1 | CRISPER DRAWER 2 |
|---|---|
| (High Humidity: Greens) | (Low Humidity: Fruits) |
+-------------------------------------------------------------+
```
The Door: The Warmest Zone
The refrigerator door experiences the most temperature fluctuation every time it is opened. Reserve this real estate for condiments, dressings, juices, and items with high natural acidity or salt content that act as preservatives. Never store milk or raw eggs in the door, despite the molded plastic slots manufacturers often provide.
The Upper and Middle Shelves: Stable Temperatures
These shelves maintain the most consistent ambient temperature. They are ideal for ready-to-eat foods, prepped grains, dairy products, and leftovers stored in clear, airtight glass containers. Keeping your prepped components visible here ensures nothing gets lost in the back.
The Lower Shelf: The Safety Zone
Because cold air sinks and cooling elements often reside near the bottom, the lowest shelf is the coldest part of the main compartment. This is the mandatory home for raw meats, poultry, and seafood. Always place them on a rimmed tray or plate to catch any accidental drips and prevent cross-contamination.
Crisper Drawers: Humidity Control Chambers
Modern refrigerators feature adjustable humidity sliders on their crisper drawers. Understanding how to use them is a game-changer for produce longevity:
- High Humidity (Closed Vents): Ideal for moisture-loving greens, spinach, kale, herbs, and root vegetables. It traps moisture inside to keep leaves crisp and prevent wilting.
- Low Humidity (Open Vents): Ideal for ethylene-producing fruits like apples, pears, peaches, and bell peppers. It allows ripening gases to escape, preventing premature rotting.
The Ultimate Container Ecosystem
The containers you choose play a massive role in the success of your weekly food prep. Flimsy, mismatched plastic containers stain, retain odors, warp in the dishwasher, and often fail to create an airtight seal.
Glass vs. BPA-Free Plastic
While lightweight plastic containers have their place for on-the-go lunches, heavy-duty borosilicate glass containers are the gold standard for home refrigerator storage. Glass is non-porous, microwave and oven safe, and does not leach chemicals into your food. Most importantly, glass is transparent, allowing you to scan your refrigerator contents at a glance without opening lids.
Vacuum Sealing and Airtight Seals
Oxygen exposure causes oxidation, nutrient degradation, and rancidity. Investing in containers with silicone-gasket airtight seals dramatically extends the shelf life of prepped ingredients. For long-term storage or delicate items, handheld vacuum-sealing systems remove ambient oxygen entirely, halting the oxidation process in its tracks.
Leveraging Smart Refrigerator Technology
As household appliances evolve, smart refrigerators are bridging the gap between kitchen organization and digital automation. Integrating smart features into your weekly routine can eliminate guesswork.
Internal Cameras and Inventory Management
High-end smart refrigerators now feature internal wide-angle cameras that capture a snapshot every time the doors close. Linked directly to your smartphone via companion apps, you can check your refrigerator inventory while standing in the grocery store aisle, preventing duplicate purchases and forgotten ingredients.
Dynamic Cooling and Ethylene Scrubbers
Advanced refrigeration systems utilize multi-zone cooling to maintain precise humidity and temperature levels for specific shelves. Furthermore, integrated ethylene gas absorbers neutralize ripening hormones emitted by produce, extending the crispness of leafy greens and berries by up to two extra weeks.
Comparative Storage Methods for Common Prepped Ingredients
| Ingredient Category | Preparation Method | Ideal Storage Container | Optimal Refrigerator Zone | Average Shelf Life |
|---|---|---|---|---|
| Leafy Greens | Washed, spun dry, layered with paper towels | Glass container with loose lid or produce bag | High-humidity crisper drawer | 7–10 Days |
| Cooked Grains | Rinsed, cooked al dente, cooled rapidly, oiled lightly | Airtight glass container | Middle shelf | 5–7 Days |
| Raw Proteins | Trimmed, portioned, seasoned or marinated | Vacuum-sealed pouch or airtight tray | Lowest shelf | 3–5 Days |
| Root Vegetables | Peeled, chopped, blanched or raw | Glass meal-prep containers | Upper or middle shelf | 5–7 Days |
| Fresh Herbs | Stems trimmed, placed upright in water or wrapped damp | Mason jar with lid or damp cloth | Refrigerator door shelf | 1–2 Weeks |
Building Your Sunday Prep Workflow
Transitioning to an efficient system requires a predictable weekly routine. Sunday is traditionally the anchor day for culinary preparation, allowing you to reset your kitchen for the upcoming workweek.
Step 1: Audit and Purge
Before bringing home new groceries, perform a quick 5-minute refrigerator audit. Toss spoiled items, wipe down sticky shelves, and pull older prepped components to the front so they are consumed first.
Step 2: Wash, Dry, and Chop
Process your produce immediately upon returning from the store. Washing and chopping vegetables right away removes friction during busy weeknight cooking sessions. When ingredients are prepped and staring at you in clear glass containers, you are far more likely to cook healthy meals.
Step 3: Batch Cooking Foundations
Roast a large sheet pan of mixed root vegetables, boil a batch of quinoa or brown rice, and bake or grill multi-use proteins. Once cooled, pack them neatly into your designated zones, label them with masking tape and dates if necessary, and close the door on kitchen chaos.