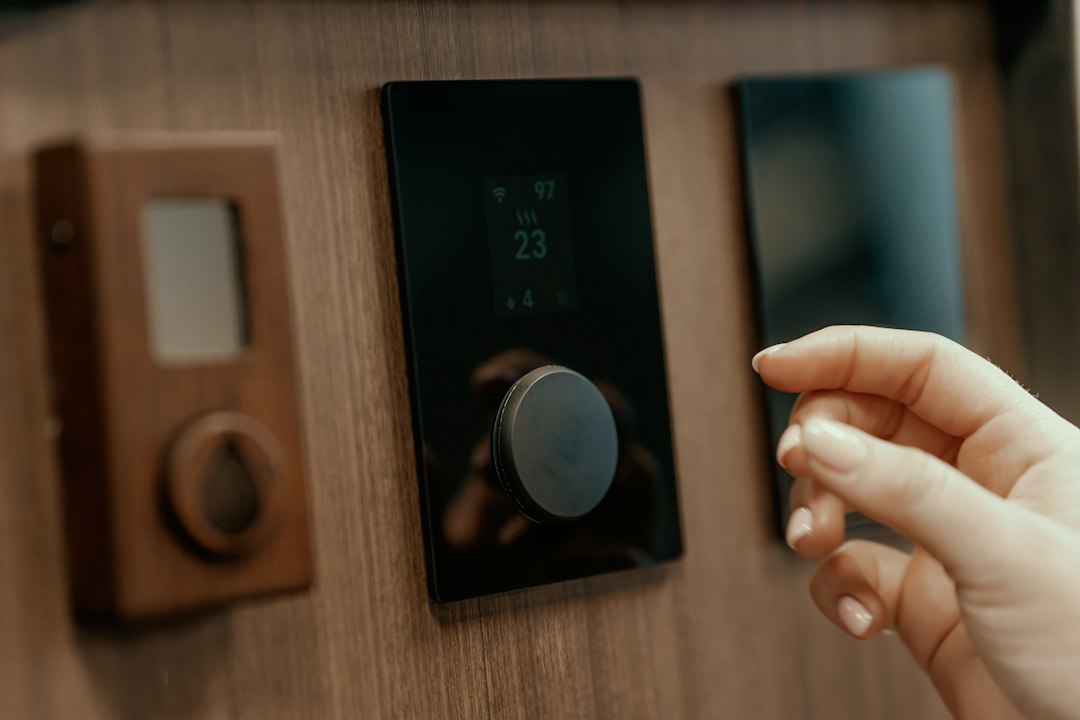
Understanding Refrigerator Temperature Dynamics
Your refrigerator is arguably the most critical piece of hardware in your home. It operates as a constant, heavy-duty cooling loop designed to keep perishables out of the "Danger Zone" (40°F to 140°F), where bacteria proliferate rapidly. However, a common misconception among homeowners is that the dial inside the fridge is a literal thermometer. In reality, that dial is usually a simple mechanical switch or a digital input that controls the frequency of the compressor cycle.
When you suspect your appliance is running too warm or freezing your produce, you don’t necessarily have a broken unit; you likely have a misaligned calibration. Learning how to calibrate your refrigerator thermostat is an essential skill that saves money on energy bills and prevents food waste.
The Necessary Maintenance Gear
Before you begin, you need the right tools. You cannot rely on the "feel" of a milk carton to determine if your fridge is at the optimal 37°F–38°F range.
Recommended Toolkit
- A Calibrated Digital Thermometer: Avoid liquid-in-glass thermometers, which are slow to react. A digital probe thermometer or a wireless remote-sensor thermometer is ideal.
- Small Screwdriver or Allen Key: Some older mechanical thermostats have an adjustment screw hidden behind the dial cap.
- Notepad and Pen: To log temperature readings over a 24-hour period.
- The Owner’s Manual: Crucial for identifying the location of the thermistor or the control board.
How to Calibrate Your Refrigerator Thermostat: A Step-by-Step Approach
Calibrating a refrigerator is not an instantaneous process. Because the interior air volume is large and contains mass (food, shelves, drawers), temperature shifts take time to stabilize.
Step 1: The Baseline Test
Place your digital thermometer in the center of the middle shelf, ideally surrounded by a few items (the "thermal mass" helps simulate real-world conditions). Close the door and leave it for at least 8 to 12 hours. Do not open the door frequently, as this will skew your reading.
Step 2: Interpreting the Data
After the waiting period, check the thermometer reading. Compare this to your fridge’s current setting. If your fridge is set to "Normal" or "38°F" but the thermometer reads 42°F, you have a 4-degree offset.
Step 3: Incremental Adjustment
Adjust your control knob or digital interface by one increment (or one degree). Do not overcompensate by cranking the dial to the coldest setting. Refrigeration hardware often overshoots its target if adjusted too aggressively, leading to frozen eggs and burst soda cans.
Step 4: The 24-Hour Rule
After adjusting, wait another 24 hours. Thermostats rely on internal thermistors that take time to react to the new set-point. Only after a full cycle of operation should you re-check the temperature.
Maintenance Gear Comparison Table
Choosing the right monitoring equipment is vital for accurate calibration. Here is how standard options compare:
| Tool Type | Accuracy Level | Response Time | Best For |
|---|---|---|---|
| Mechanical Dial | Low (+/- 5°F) | Very Slow | General estimation |
| Liquid-Filled Analog | Moderate (+/- 2°F) | Slow | Long-term monitoring |
| Digital Probe | High (+/- 0.5°F) | Fast | Precision troubleshooting |
| Smart Wireless Sensor | High (+/- 0.5°F) | Instant | Constant app monitoring |
Identifying Hardware Faults vs. Calibration Issues
Sometimes, the issue isn't calibration—it's mechanical failure. If you have adjusted the thermostat multiple times and the temperature remains volatile, look for these hardware red flags:
- Dirty Condenser Coils: If your coils are coated in dust, the compressor must run harder and longer, making it difficult for the thermostat to maintain a steady temperature.
- Gasket Leaks: A compromised door seal introduces warm, moist air, which tricks the thermostat into thinking the fridge is warmer than it is.
- Damaged Thermistor: In digital models, the thermistor (the sensor that measures temperature) can fail, sending incorrect data to the control board. If this happens, no amount of calibration will fix the issue; the part must be replaced.
Pro-Tips for Optimizing Internal Cooling
Beyond calibrating, consider the environment inside your fridge. A refrigerator that is packed too tightly restricts airflow, creating hot spots. Conversely, a completely empty fridge loses its "cold storage" capacity every time the door opens. Aim for a 75% full refrigerator to maintain thermal stability. Ensure that items are not pressed against the back wall, as this is often where the cooling air enters, and blocking it can lead to localized freezing.
When to Call a Professional
If you have performed the calibration steps, cleaned the coils, and verified the door seals, but the unit still cycles improperly, you are likely dealing with a faulty control board or a refrigerant leak. These are advanced repair scenarios. Attempting to modify or "mod" the internal wiring of a modern computerized refrigerator can void your warranty and, in some cases, create fire hazards. If the unit remains outside the 35°F–40°F range despite your best efforts, contact a certified technician to test the system's pressure and electrical continuity.