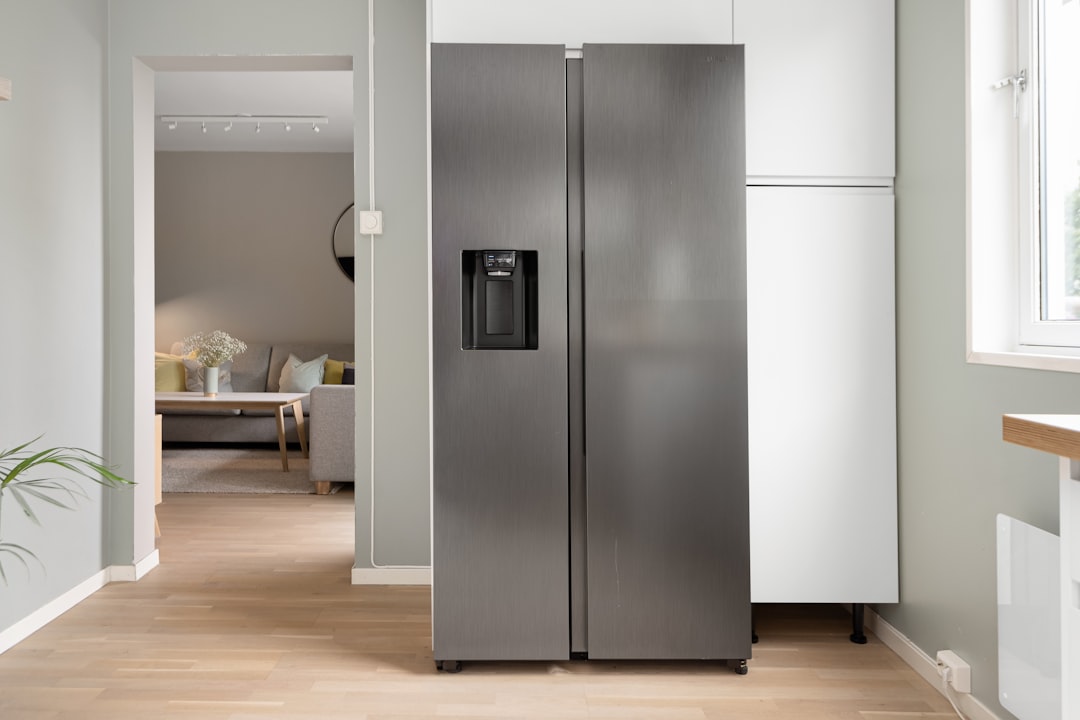
Why Your Refrigerator Air Filter Matters
Many homeowners spend significant time cleaning the interior shelves and organizing food, yet they overlook one of the most critical maintenance tasks: refrigerator air filter replacement. Unlike the water filter, which is frequently discussed due to the taste of drinking water, the air filter operates in the background, quietly scrubbing the air circulating inside your fridge.
Think of your refrigerator as a sealed ecosystem. If you store pungent items like chopped onions, leftover fish, or strong cheeses, those odors don't just stay in the containers; they circulate through the air. An effective air filter uses activated carbon to trap these particles and neutralize odors, ensuring your butter doesn't taste like last night’s leftover salmon. Beyond smell, a clean filter is a vital component of your refrigerator’s internal health.
When to Replace Your Refrigerator Air Filter
The general rule of thumb for refrigerator air filter replacement is every six months. However, this isn't a hard-and-fast deadline—it’s a guideline. Depending on your household habits, you might need to adjust this frequency.
Signs You Need a Replacement
While most modern units feature a digital interface that alerts you when the filter life reaches 0%, these sensors are sometimes based on a timer rather than actual saturation levels. Watch for these diagnostic indicators:
- Lingering Odors: If the fridge smells stale or you can smell a specific food item from the opposite side of the appliance.
- Reduced Cooling Efficiency: While rare, a severely clogged filter can disrupt the internal airflow patterns, making the appliance work harder to maintain set temperatures.
- Visible Dust or Debris: If the intake vent looks dusty or discolored, the filter behind it is likely exhausted.
- Heavy Usage: If you have a large family or frequently store leftovers, the filter will saturate faster than in a one-person household.
Diagnostic & Cooling Performance Troubleshooting
Is your refrigerator struggling to maintain its temperature? While a dirty air filter is rarely the sole cause of a total cooling failure, it is a piece of the puzzle. The internal cooling system relies on consistent airflow to circulate chilled air evenly.
When a filter becomes clogged, it creates backpressure. In high-end refrigerators with sophisticated air management systems, this obstruction can trigger a "check air system" warning. If your fridge feels warmer than usual despite the settings being correct, perform a quick diagnostic check:
- Check the Condenser Coils: If they are dusty, clean them first.
- Inspect the Air Filter: Remove the filter housing and see if the fridge temperature stabilizes or if air circulation feels more robust without the filter installed (test only for a few minutes).
- Monitor the Compressor: If the compressor is running continuously without cycling off, your cooling system is under stress. Replacing the filter is the cheapest first step to alleviate this strain.
Comparison of Filter Maintenance vs. Replacement
| Feature | Air Filter Replacement | Periodic Cleaning/Maintenance |
|---|---|---|
| Primary Goal | Odor neutralization | Dust prevention/surface hygiene |
| Frequency | Every 6 months | Monthly or as needed |
| Materials Used | Activated carbon media | Vacuuming intake vents/exterior |
| Impact on Cooling | High (prevents airflow restriction) | Moderate (keeps vents unobstructed) |
Step-by-Step Guide to Replacing Your Filter
Replacing your refrigerator air filter is one of the easiest DIY home maintenance tasks you can perform. It typically requires no tools and takes less than three minutes.
- Locate the Filter Housing: Consult your owner’s manual. It is usually located at the back of the refrigerator ceiling, behind a small vented cover.
- Power Down (Optional): You don't need to unplug the fridge, but ensure the door is fully open and the internal light is accessible.
- Remove the Old Filter: Most housings feature a simple "twist-to-release" mechanism or a "push-to-pop" tab. Gently pull the old unit out.
- Insert the New Filter: Ensure the new filter is oriented correctly according to the arrows on the cartridge or the housing.
- Reset the Monitor: After installing the new filter, press and hold the "Air Filter" button on your control panel for three to five seconds until the indicator resets to "Good" or the light turns off.
Selecting the Right Replacement Filter
Not all filters are created equal. While third-party, generic filters are often tempting due to lower price points, they can vary significantly in carbon density.
OEM vs. Generic Filters
- OEM (Original Equipment Manufacturer): These are engineered by the appliance brand. They are guaranteed to fit the housing perfectly and usually feature a higher grade of activated carbon, which provides superior odor absorption and lasts longer.
- Third-Party Alternatives: These can be hit or miss. Some are excellent, while others may use less carbon, leading to "bypass" where air flows around the filter rather than through it. If you choose a third-party brand, ensure it is NSF-certified.
Maximizing Refrigerator Longevity
Beyond changing the filter, ensure you are practicing good habits to keep the interior climate stable. Avoid overstuffing your refrigerator, as this blocks the intake vents where the air filter is located. If air cannot move, the filter cannot do its job, and the cooling system will struggle to regulate the temperature. By pairing a fresh filter with an organized, well-circulated fridge, you extend the life of the compressor and keep your groceries fresher for longer.